Home Appliance Review here today. We will be reviewing and testing ILife V3s Pro Robot Vacuum Cleaner. We did purchase this product, and any opinion expressed in this post review is strictly our own. That being said, if you’re interested in this product and want to find out more about it, the produck link to it will be below this article.
Contents of ILife V3s Pro Robot Vacuum Cleaner
The retail box and packaging. Let’s open it up and look at the contents. First up, we have our product literature. This vacuum does come with a one-year warranty. We have our user manual, available in multiple languages with their customer service and contact info if you ever need any help or support.
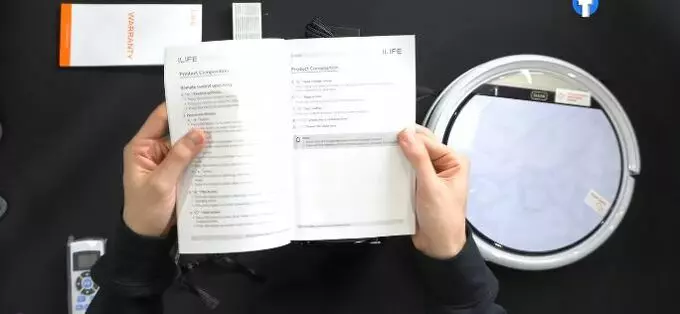
We have our table of contents walking us through everything we need to know about this vacuum, from its safety instructions to what’s included – a nice description of all the parts and pieces on our robovac.
Then we have additional information with the settings on the remote control, how to charge and set up the charger for the vacuum, how to use the vacuum with the different modes and settings, how to maintain the vacuum, troubleshooting tips and tricks. We also have our product specs here – 90 minutes battery life, around 300 minutes to charge – and all that information is repeated again in multiple languages.
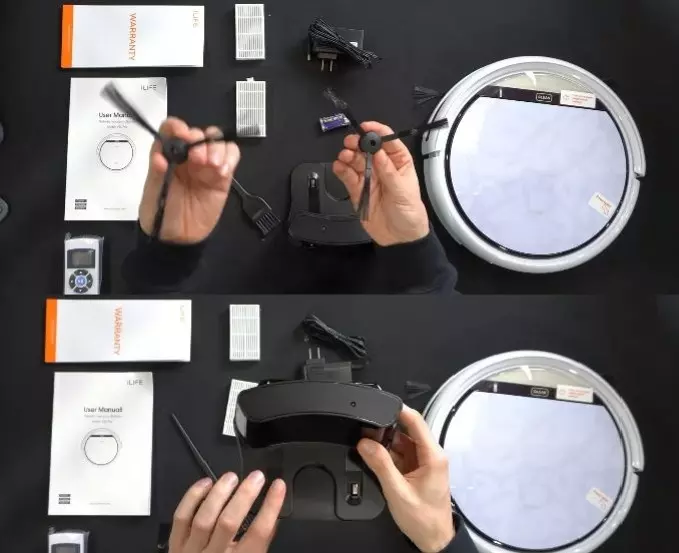
We have our remote control. Check that out – everything looks great. They even provide us with the two AAA batteries that we need. We have two side cleaning brushes, one for the left, one for the right. We have a nice cleaning brush tool, two air filters. We have our wall charger and plug, our charging base from all sides and angles. We have an indicator light up top. Our two charging contacts for the vacuum, and we have some additional product information on the bottom of the base.
Vac Up Close
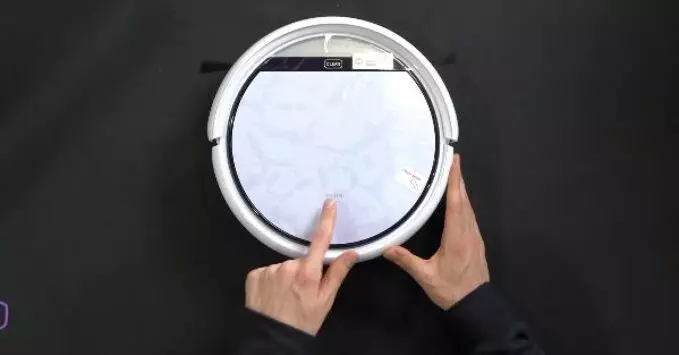
And last but not least, we have the vacuum itself. Let’s go ahead, let’s look at that in more detail. Here’s the vacuum up close. Check it out – everything looks great. Up at the top, we have the ILife logo and branding, our clean button (make sure we power it on before starting), and we have a push button to open up to reveal our dust bin on the inside and top of our robovac. Check it out – nice yellow handle. Our removable filter to clean (do not wash it).
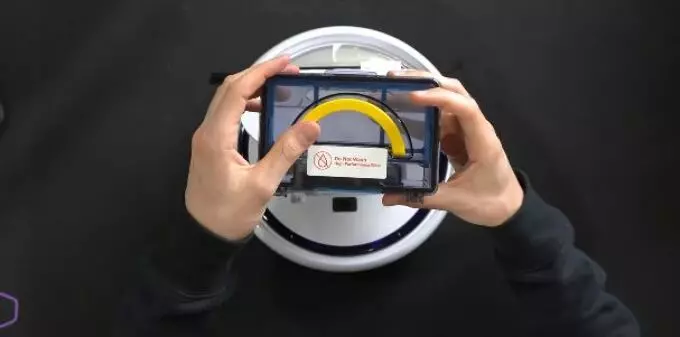
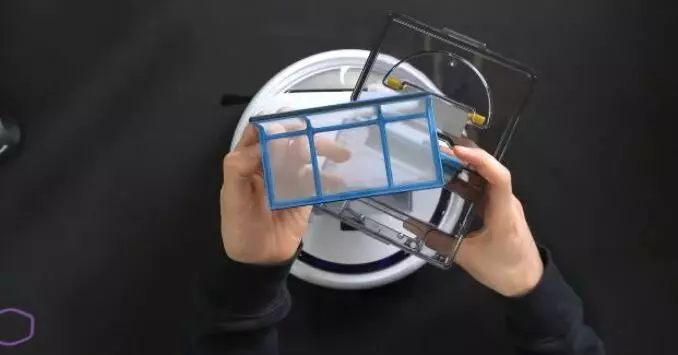
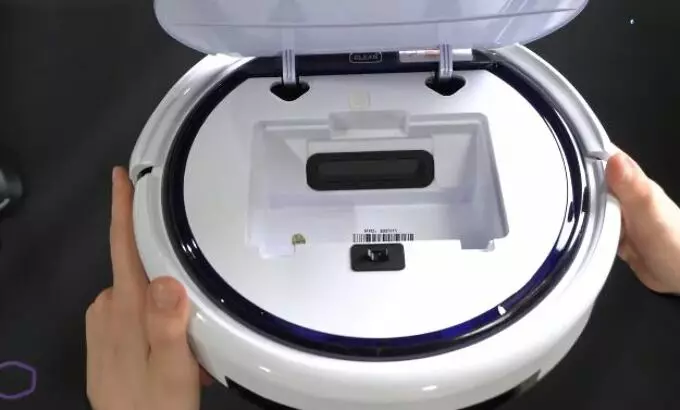
And then we can go ahead, we can look at this side. This is where all the contents are going to come into the dust bin. We can open it up to easily clean by removing this filter that, if you want to, you can wash and rinse – just let it dry before you put it back in the dust bin. That’s how we are going to be able to empty everything. And while it’s removed, on the inside what we’re working with and how everything will make its way into the dust bin. And then when you’re ready, you just go ahead, gently press it back in place, and you’re all set and ready to go.
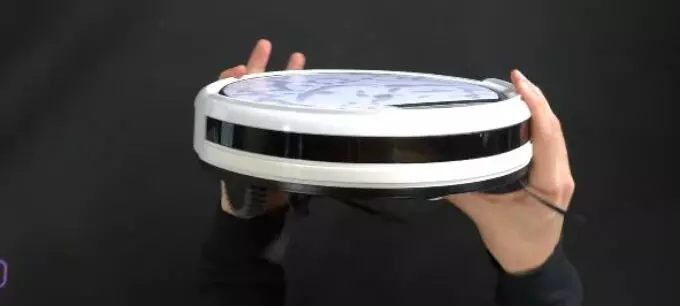
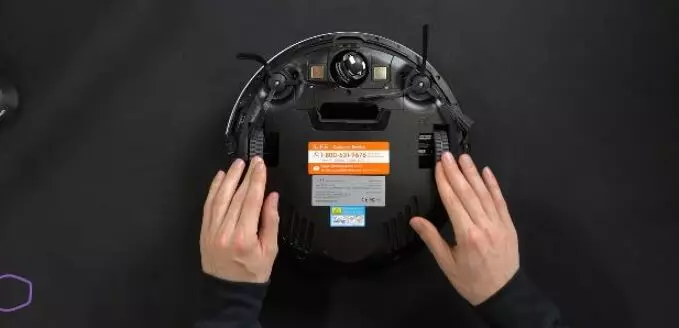
Let’s look at it from the side. On this side we have a charging port and our power on and off switch. On the front, we have our navigational bumper right there. It from the other side and from the back. Let’s flip it over. You can see it from the bottom. Check it out – we have our left and right side cleaning brushes, our omnidirectional wheel charging contacts, three different cliff sensors, left and right drive wheels that are spring-loaded and independent of each other, customer service information front and center at the bottom – you can’t miss it; it’s an orange email address, phone number depending on where you’re at. We have additional product info, some additional warnings, and we have some exhaust.
Controller Capabilities
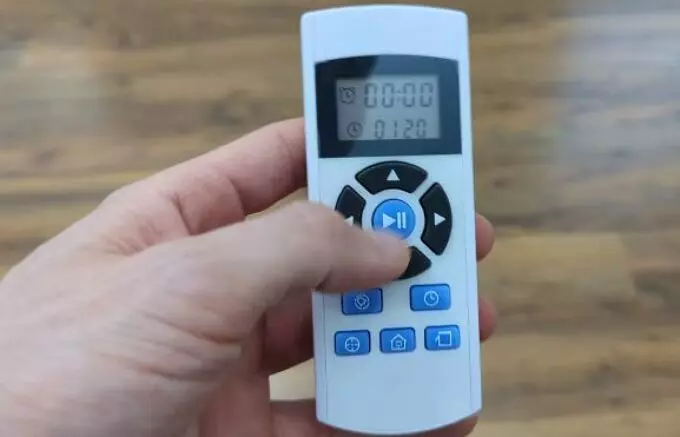
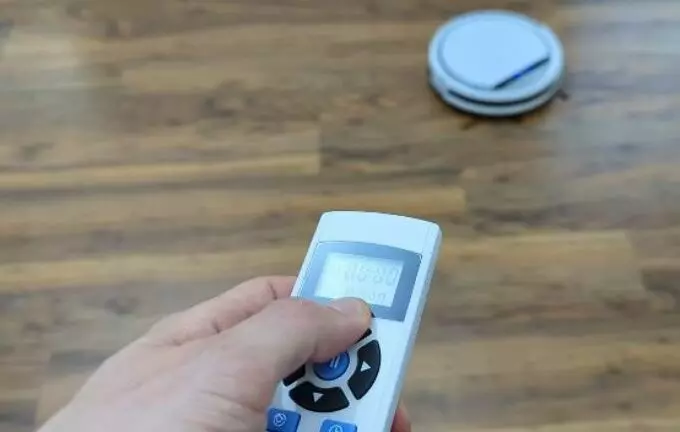
Let’s charge it up and try it out. We got everything set up – batteries in the remote control, the vacuum’s on the floor ready to clean. First thing we can do if we want to start cleaning is just press the play-pause button, and the vacuum’s going to go on its own and start cleaning. And then we can pause, and it’s very responsive. We can also drive it ourselves with the directional arrows. If we hold it down, it’ll drive; we can turn it, we can do everything with the remote control. That’s really nice.
Then at the bottom, we have additional settings. We have our clock setting and we can set the time, the hour, and the minute with our clock button. And then we have our alarm icon – that’s going to be our schedule. We can press that, and then we can choose the time when we want the vacuum to start cleaning. That’s the two controls up top.
ILife V3s Pro Tests
Spot Cleaning
Then down below, we have three different buttons. The first button is going to be a spot cleaning mode. In spot cleaning mode, it’s true to its name – it’s going to move around and around in a circle in one given spot, expanding further and further out.
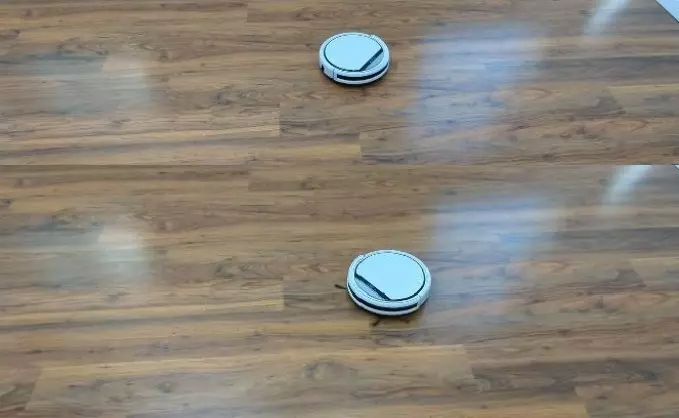
Then it will contract back in on itself and end where it started initially. That’s what you can do with spot cleaning – really helpful to have this mode when you have a dirty area of your house that you just want to focus cleaning on in that particular area. You can achieve that with spot clean.
Edge Cleaning
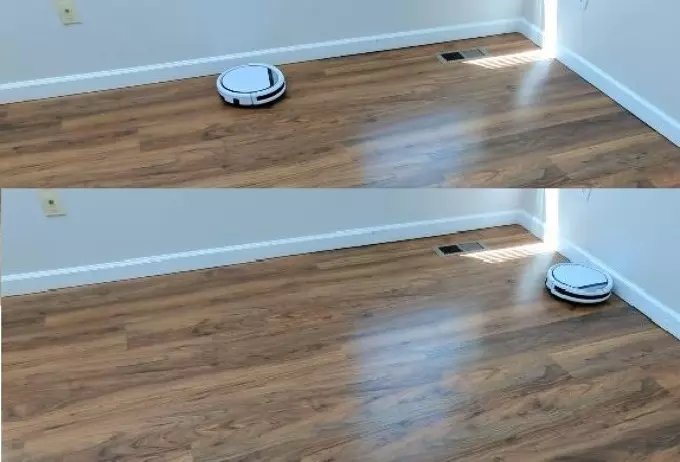
We’re going to activate edge cleaning mode on the remote control. It’s going to go to the perimeter of the room and follow the very edge all throughout your house, cleaning along the baseboards. It even traveled just fine over that air vent there. It handles the corner as well too – no issues at all navigating using our edge clean.
Return To Home Test
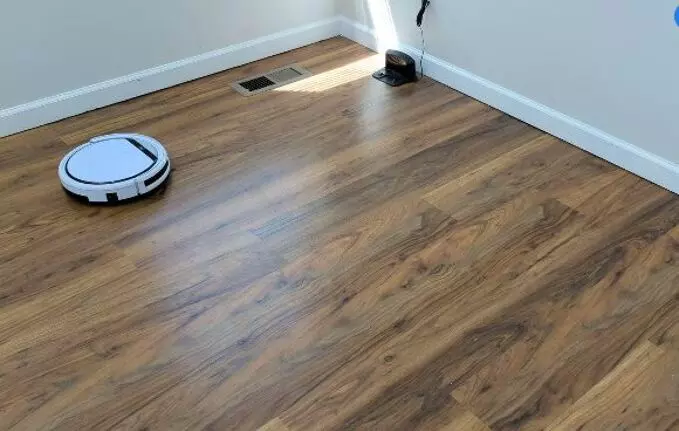
Let’s activate return to home. You’re to go ahead, you’re going to press the home button, the vacuum is going to work on finding its way home. You may notice where the charging base is, and it looks like the vacuum’s already locked onto it. It’s setting its path, it’s lining itself up, it’s slowly making its way home to recharge. Check that out – very responsive, really quick, and it had no issues at all finding the charging base. It’s the final approach. The vacuum successfully charging.
Cliff Sensor Test
Don’t forget this vacuum is equipped with cliff sensors, watch what happens as the vacuum approaches the top of the stairs. It is unable to go any further; it recognizes that there’s a drop-off. We could even try at an angle, at an angle, even the cliff sensors along the sides prevent the vacuum from going any further.
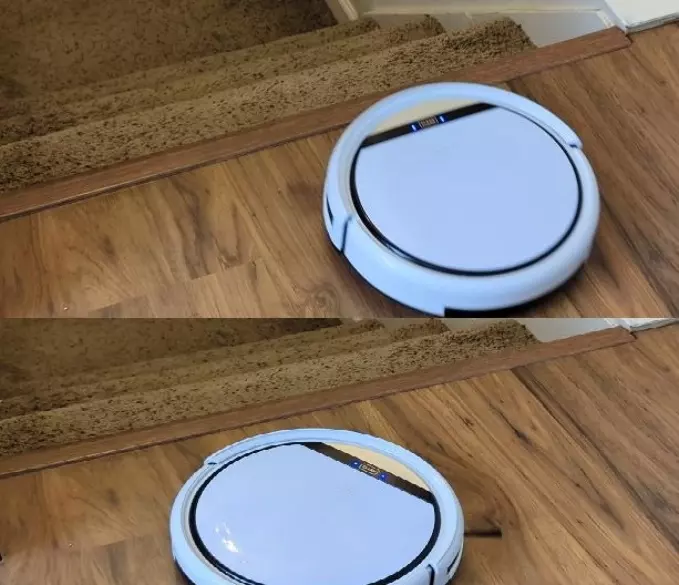
And we can turn it around and get it out of there. The sensors are working great. We’ll try the other angle approach too, and same thing – it prevents us from going any further, keeping the vacuum from falling down the steps.
Cleaning Carpet
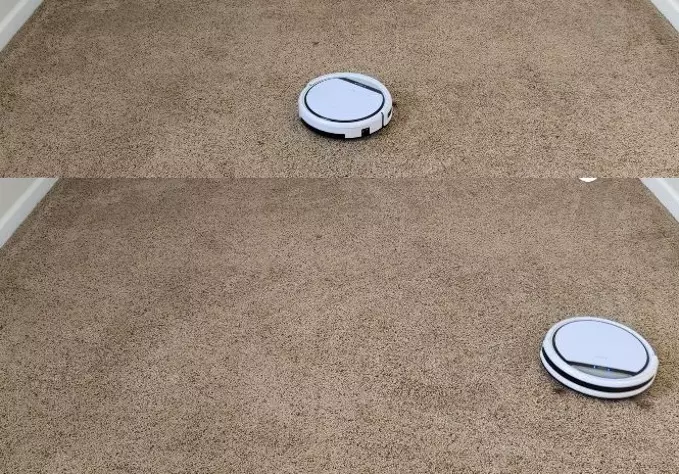
Testing the vacuum cleaning on carpets. Everything’s working great, as you would expect. It might be moving a little bit slower on a carpeted surface, but this vacuum is able to clean both carpets and hard floors and surfaces.
Navigation Style
Let’s talk about this robot’s navigation. There is no pattern to its cleaning – it does not do row-by-row navigation. It’s completely random and sporadic how it cleans; it just moves around freely, reacting to each room and environment. That is how this vacuum cleans. There’s no logical cleaning pattern or anything like that.

You’ll notice again, it’s just moving around freely as it sees fit. And you may notice in the carpet some of the different lines from some of the paths that it’s already taken as it’s cleaned this room. But without that row-by-row navigation, it doesn’t know where it’s cleaned and where it hasn’t cleaned. There’s no guarantee for each cleaning cycle that every possible surface has been covered by the vacuum. It’s definitely beneficial for a vacuum like this to let it clean rooms multiple times a day to make sure that a majority of your space is being cleaned.
Let’s let this vacuum finish cleaning the house, and we’ll check out the results. Our vacuum just finished its first clean, and it successfully made its way back home to charge.
Results
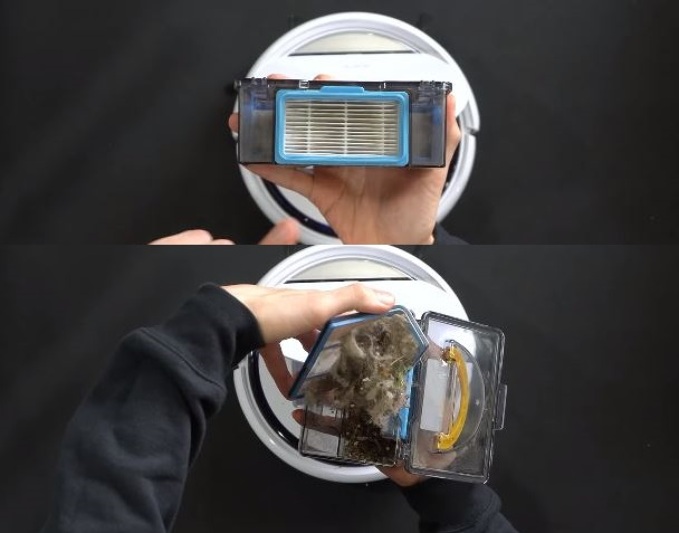
Let’s open it up and look at the contents of our dustbin, you can see real-world results. First up, you may notice our filter does have some dust and dirt, as you would expect because it’s currently working. And then check it out from the bottom – this thing is jam-packed full of a lot of dirt, dust, and debris. Let’s see if we can gently open this up without making a big mess. We have our filter to remove.
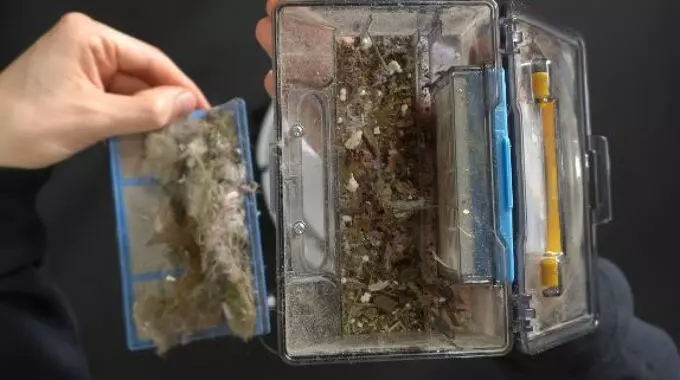
And we’ll check that out as well – oh, that’s got a lot of pet hair. we mean, look at that – look at everything that it sucked up right there. That’s disgusting; we got leaves, we got hair, looks like we got a lot of crumbs as well. If you have pets, that’s what you can expect. We also have a lot of human hair in there. And then we have larger particles and items that were sucked up in the bottom of the dustbin too. Check that out – real-world results. This is what you can expect for the robovac to pick up and clean around your house.
Bottom Of Vac Post Clean
We’d take a look at the bottom of this vacuum, You can see what it looks like after our clean. It’s obviously a little bit dustier, as you would expect, but that’s it. Since there’s no main brush roller, there’s nothing that can get tangled that needs to be cleaned down here; it’s just going to suck all the contents right in. If you do have a lot of pets with pet hair and maybe you’ve tried some robovacs in the past that have that brush roller and it gets tangled too much for your preferences, that definitely is an added benefit of a vacuum like this that doesn’t have the main brush roller.
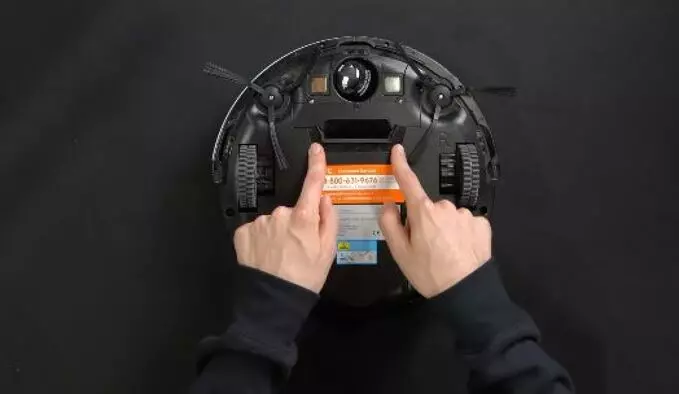
You’ll appreciate not having as much maintenance, but it will come at the cost of what it’s capable of picking up. But if you typically just deal with a lot of hair, whether human or pet, you may appreciate this style of vacuum cleaner.
>>> Buy ILife V3s Pro Robot Vacuum Cleaner (Amazon)
Pros and Cons
So as someone that spent a lot of time reviewing robo vacuum cleaners, whether they cost a hundred dollars or a thousand dollars and beyond, they all are very similar to each other in design and form factor. But they do have some key differences; typically, it comes down to two main features. The first one is what sort of smart Wi-Fi capabilities does your vacuum cleaner have, if any at all. And the second feature is what sort of cleaning system is it using?
So we have our most affordable vacuum cleaner, the ILife RoboVac. Then we have our Anker Eufy RoboVac, followed by our iRobot Roomba j7, and RoboVac. At the bottom, we have three different cleaning systems. Keep in mind, the most affordable robovacs typically have this cleaning system where we don’t even have a main brush roller. That can be of benefit to you if you typically have a lot of pet hair or human hair around your house. You will appreciate not having to do as much maintenance, but it will come at the cost of not giving you as deep and thorough of a clean. But we want you to be assured that typically nobody will know whether your house was cleaned with a handheld vac or robovac or which type of robovac.
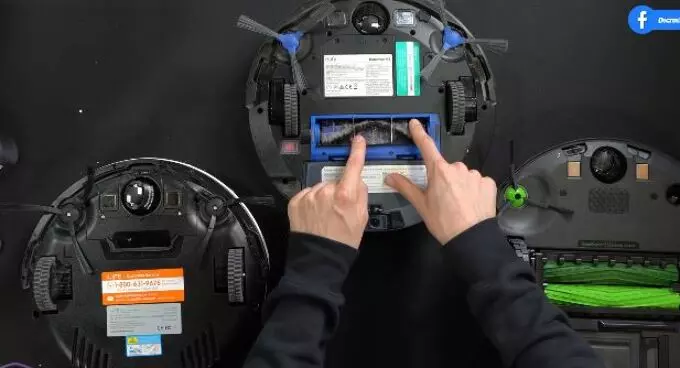
Next, as we increase in price point and features, we pick up a main brush roller. But as we pointed out, we do have a lot of hair tangles in here. There is some additional maintenance, but don’t worry, it’s not that big of a deal; you can just pop this up and use some scissors or whatever you need to cut all the hair and fibers out. But a difference, as the price increases, typically you’ll find that the cleaning capacity and effectiveness will increase as well.
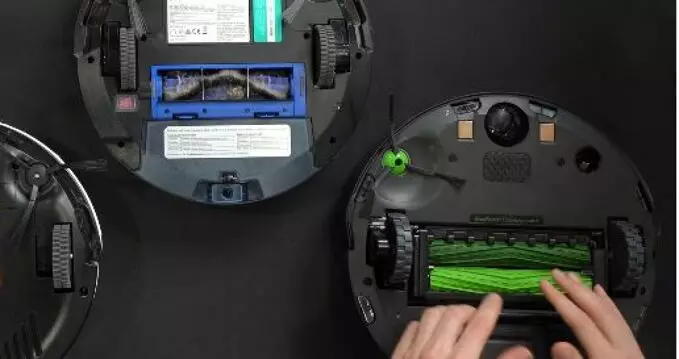
And then lastly, with our Roomba, we have the AeroForce cleaning system. This has two brush rollers, and we have no tangles on this vacuum whatsoever, which is really nice. And we have two rollers; we don’t have any bristles for the brush, but that’s not a big deal. That actually helps keep the tangles down too. And with the two-roller cleaning system and how it’s able to really self-level, it does a really nice and thorough job cleaning for us, whether it’s a hard surface or carpet.
As we increase in price, we definitely have different cleaning performance and preferences. As you make your decision, it obviously comes down to what features you can’t live without. Do you need to have Wi-Fi? Do you need a remote control? Do you need a schedule? Do you need to have a certain cleaning system, depending on if you have a lot of pets, kids, that sort of thing? That’ll come down to what you can afford.
Typically, we would say if you can’t afford it, some essential features that you would be really happy having in a robovac. A self-emptying base – we know it’s a splurge, but the whole point of getting a robovac is so you don’t have to vacuum or do any work, and that gets you a step further in that direction where you don’t even have to empty it until 30 or 60 days or even beyond, depending on how often it cleans, how dirty your house is, that sort of thing.
The other feature is having smart capabilities, especially getting that logical row-by-row clean. It really makes a difference in how you enjoy the experience with your vacuum, especially when it knows where it is and can identify areas that it has or hasn’t cleaned. It’s definitely more effective and worthwhile if you’re already making that investment into a robovac.
You may also like: iRobot Roomba 692, Roborock Q REVO : Perfect mid-level Robot vacuum choice
Amazon links
>>> Buy ILife V3s Pro Robot Vacuum Cleaner (Amazon)
Along those lines, if you can get a robovac that has Lidar or smart mapping capabilities, you will appreciate that as well. With just the click of a button, you can set up a no-go zone or a virtual wall or barrier. You will enjoy that as you kind of vacuum cleaner-proof your house. You don’t want it to go next to the Christmas tree in the Christmas tree skirt or a shag rug where it gets stuck. You will appreciate having those features you don’t have to play the game of waking up every morning and trying to find your robovac.
Lastly, if you can get one with a mopping attachment too, you will enjoy that. But that’s not as essential, in our opinion, as having the smart mapping and the self-emptying base. But it does make the robovac even more practical.